I am really drawn to painted wood floors and have looked at countless images for inspiration. When it came down to it, we decided to go with our gut after looking at a few stains on the floor. Below is an image of a soft gray, espresso, and black.
While I really liked the color of the soft grey, we were not as happy will the orange of the pine showing through. If the wood floor did not have so much orange/red we may have selected this stain. What we didn't like about the espresso was how muddy it ended up looking. The grain in the wood didn't pop as much as it did with the black. Hence, we selected the black.
Below is a picture of the staining process and the final result. As the stain was not as translucent as we had desired, I used the brush to wipe off some on the stain allowing the grain to show through.
After the stain came the varnish.
The only thing left is the painted border which will follow after the cabinets are installed and painted.
Thursday, December 4, 2014
Tuesday, December 2, 2014
Kitchen Floors Part 1
We have been going back and forth for some time as to what will become of the kitchen floors.
We first were looking at a very contemporary ceramic tile that emulated natural stone. When we had a structural engineer come and look at the house since deciding to take down the wall he advised against it. We would need to add a column in the basement as the weight of the stone and the removal of the wall may cause the floor to deflect too much.
Next we thought of adding a floating cork floor over the existing pine floors. The reason being that the backer paper and glue for the original laminate was going to be a pain to remove and therefore no way to stain or even paint the original pine boards.
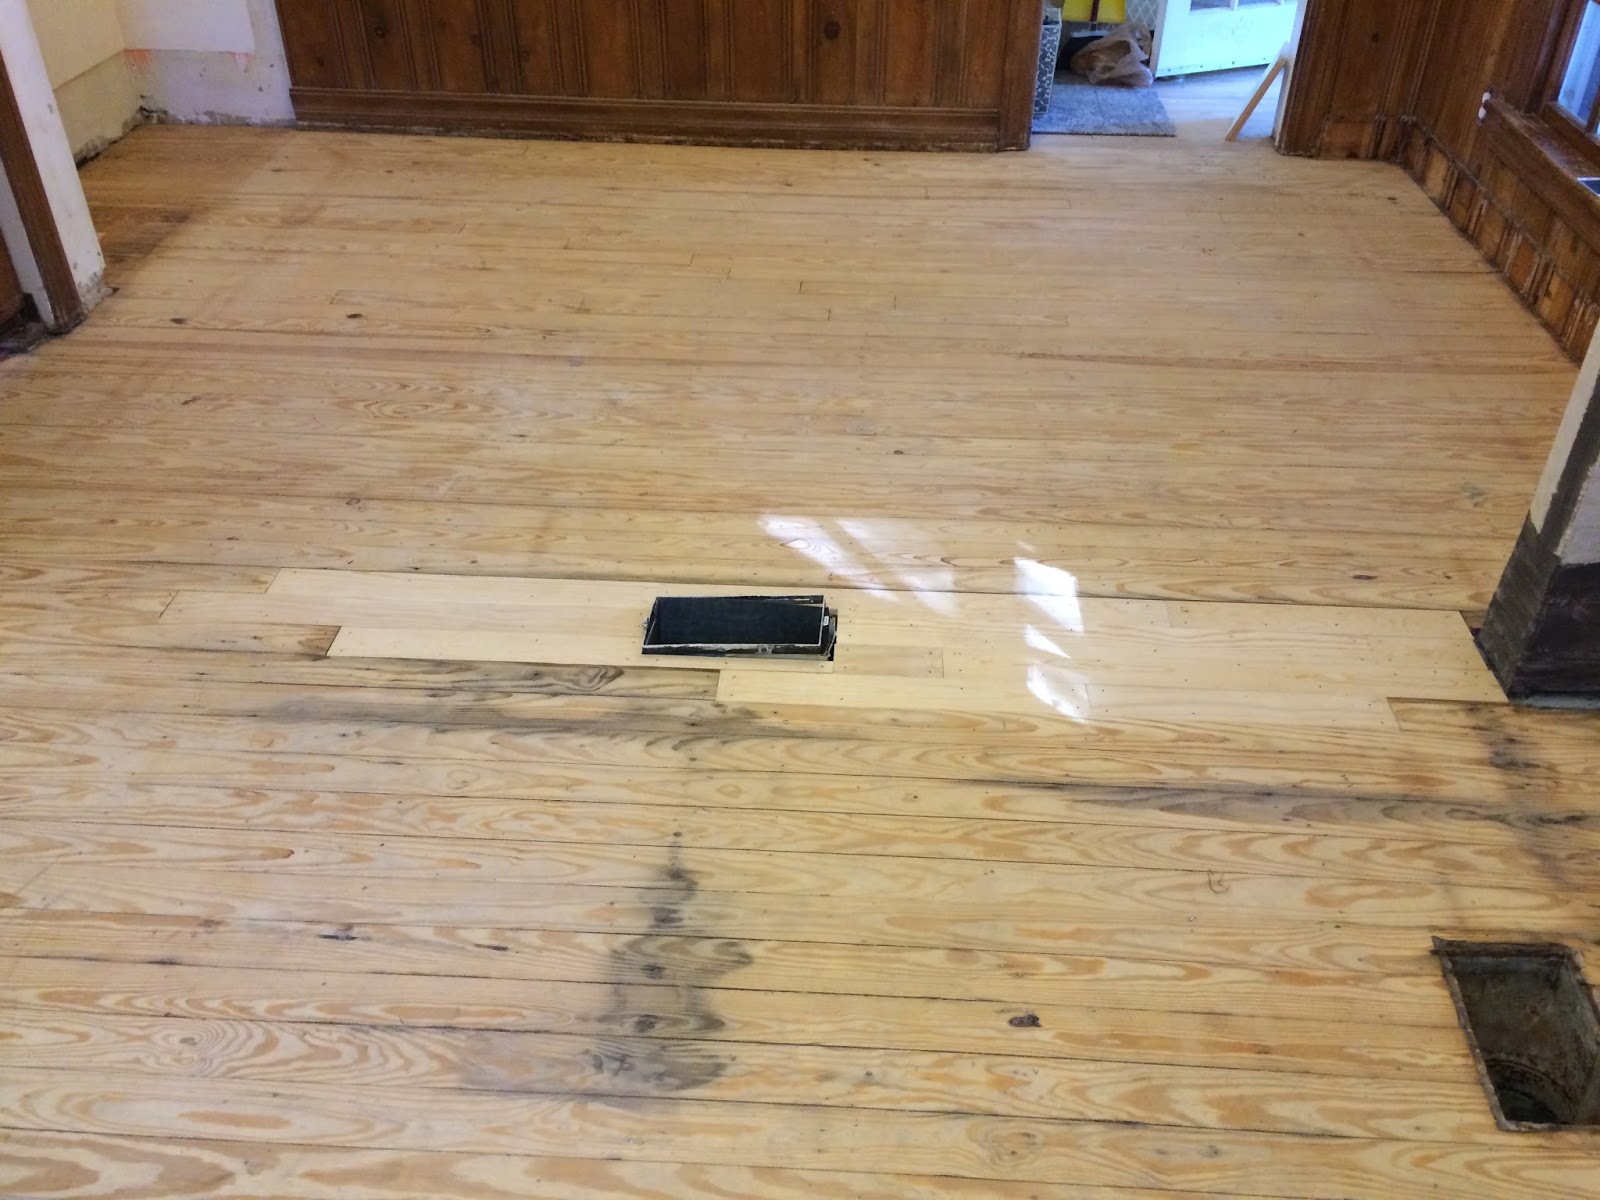
However, to our surprise, our flooring guy decided to sand all of that away. Which was probably since he felt bad that it was taking the remainder of our floors so long to complete. (6 weeks instead of 2) Below is a picture of the before and after of pine floors were sanded.
After this little surprise, we finally decided on staining the majority of the floors and then painting a boarder once the cabinetry was installed. But first as you can see from above, we need to fill the missing boards. This was a little tricky as we would need to find wood that was the same species, size, and thickness. We ended up using a pine board that is typically used for building furniture. Our flooring guy may scoff at this if he ever reads this post but the end product looks pretty good.
Subscribe to:
Comments (Atom)


